1. Run the troubleshooter
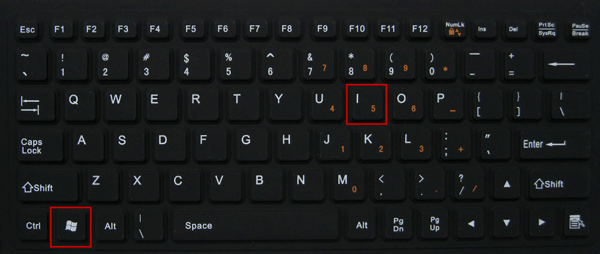
- Press “Windows + I” to launch the "Settings" app.
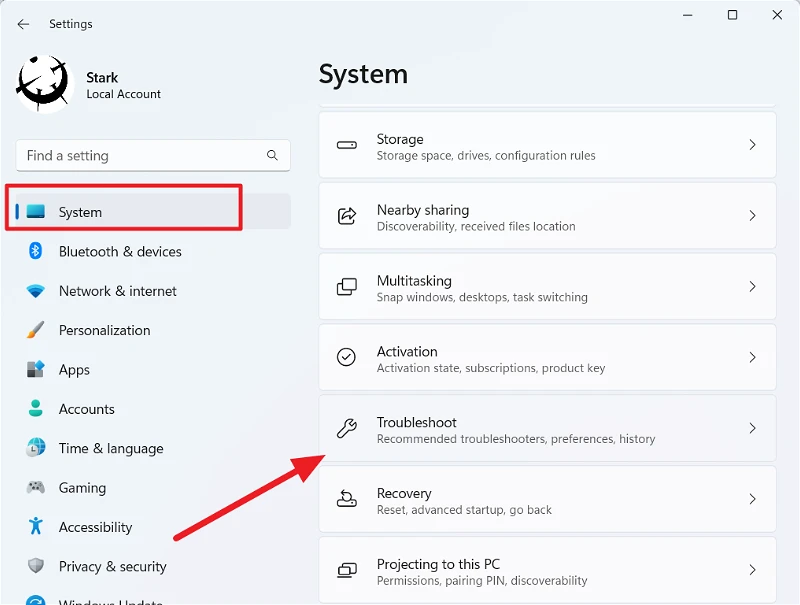
- Click on “Troubleshoot” on the right in the "System" tab.
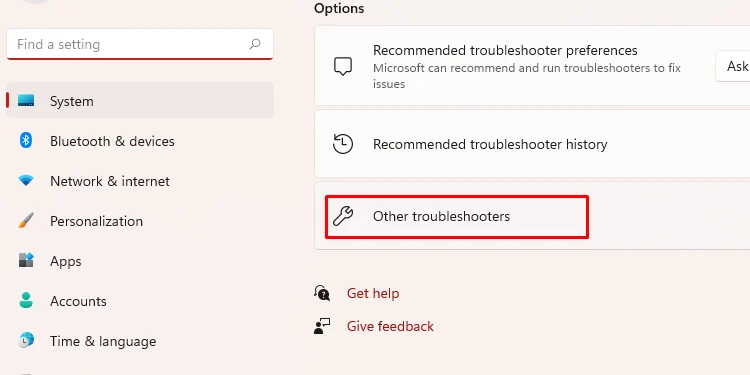
- Click on “Other troubleshooters”.
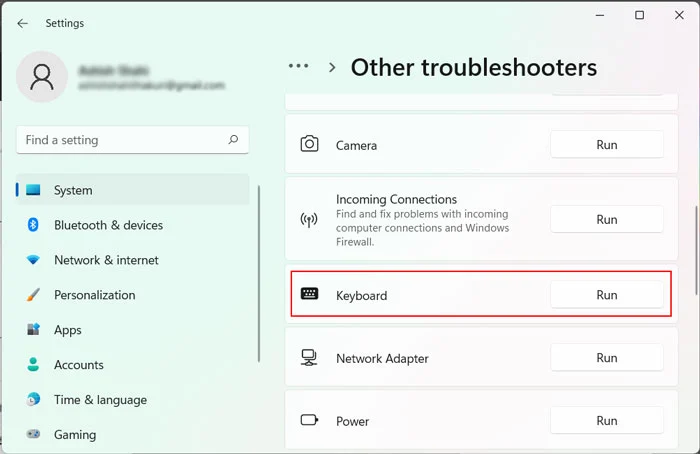
- Locate and click on the “Run” button next to “Keyboard”.
2. Update mouse and keyboard drivers in Windows 11
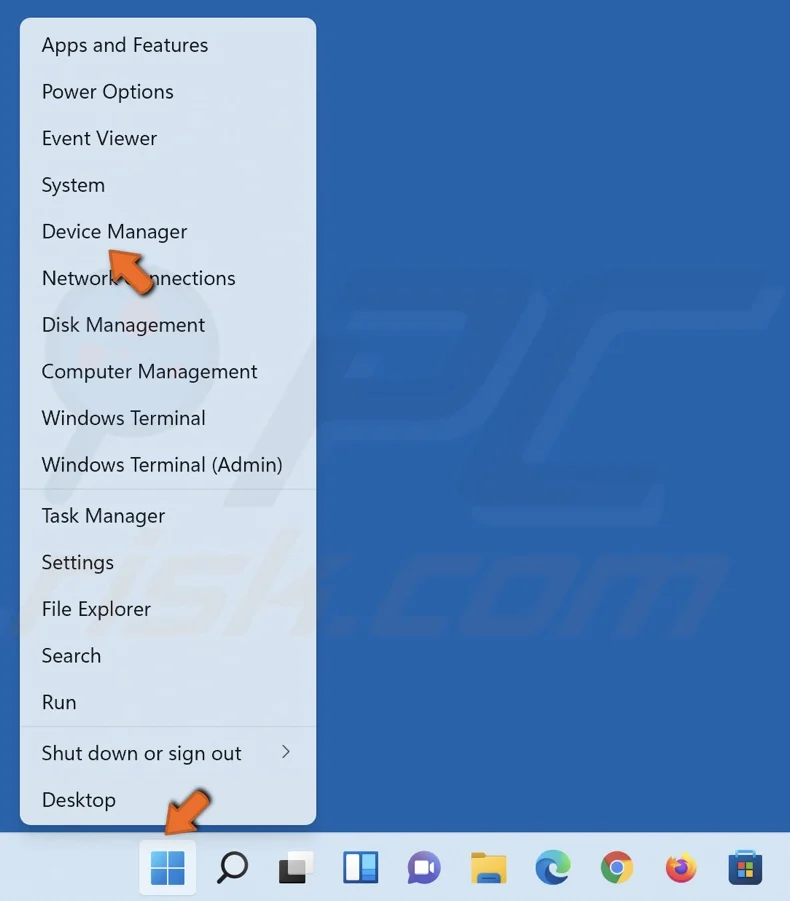
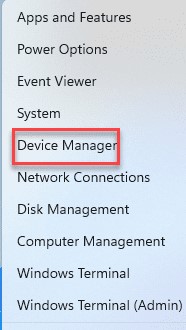
- Right-click on the “Start Menu” and then select the option “Device Manager”
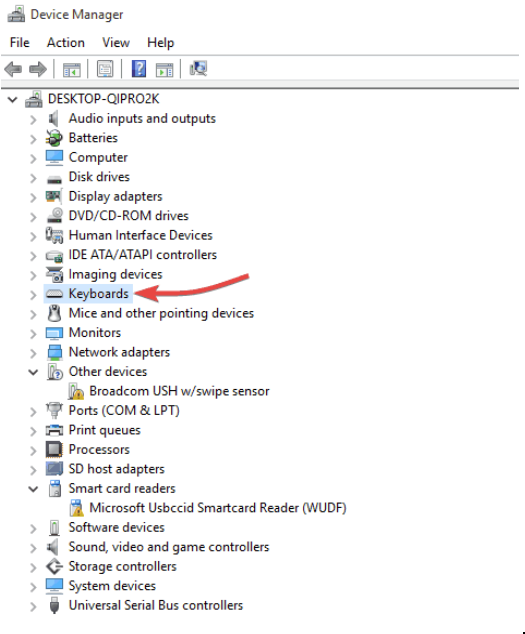
- Double-click on the “Keyboard” option listed here to view the devices under it.
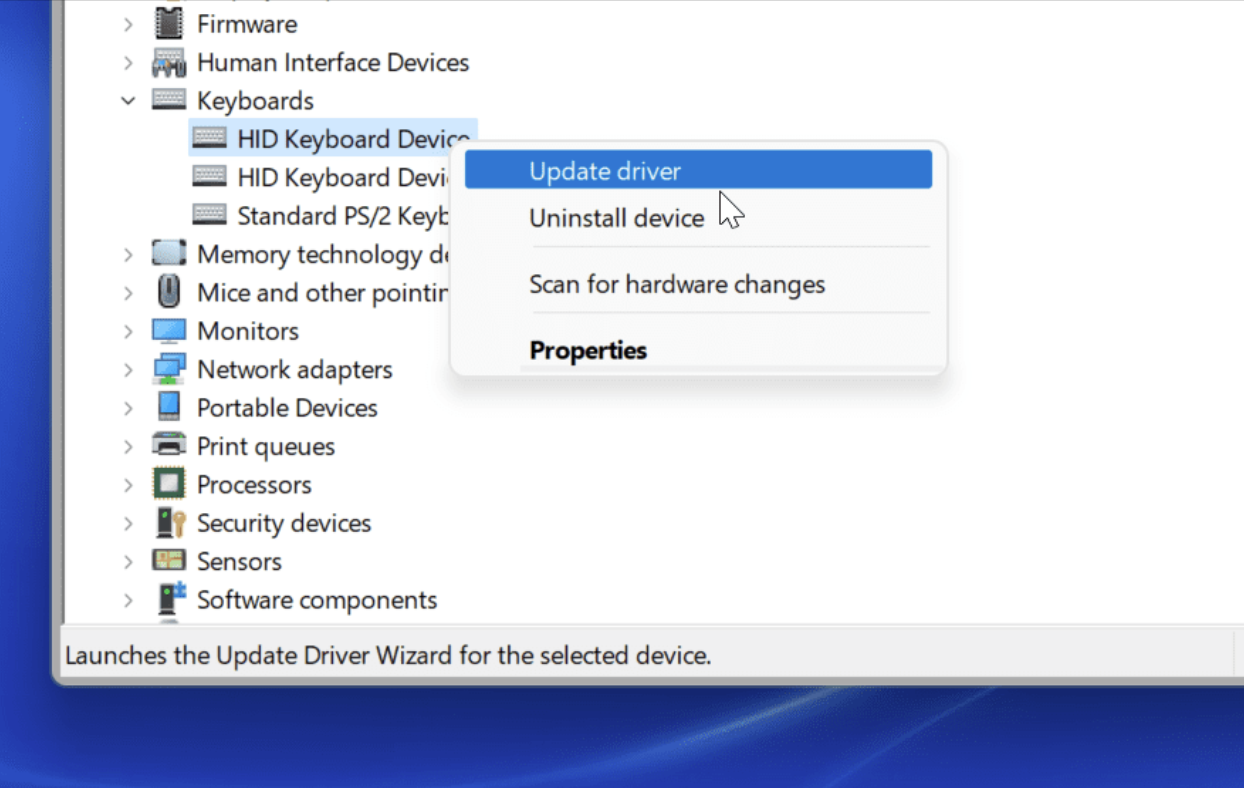
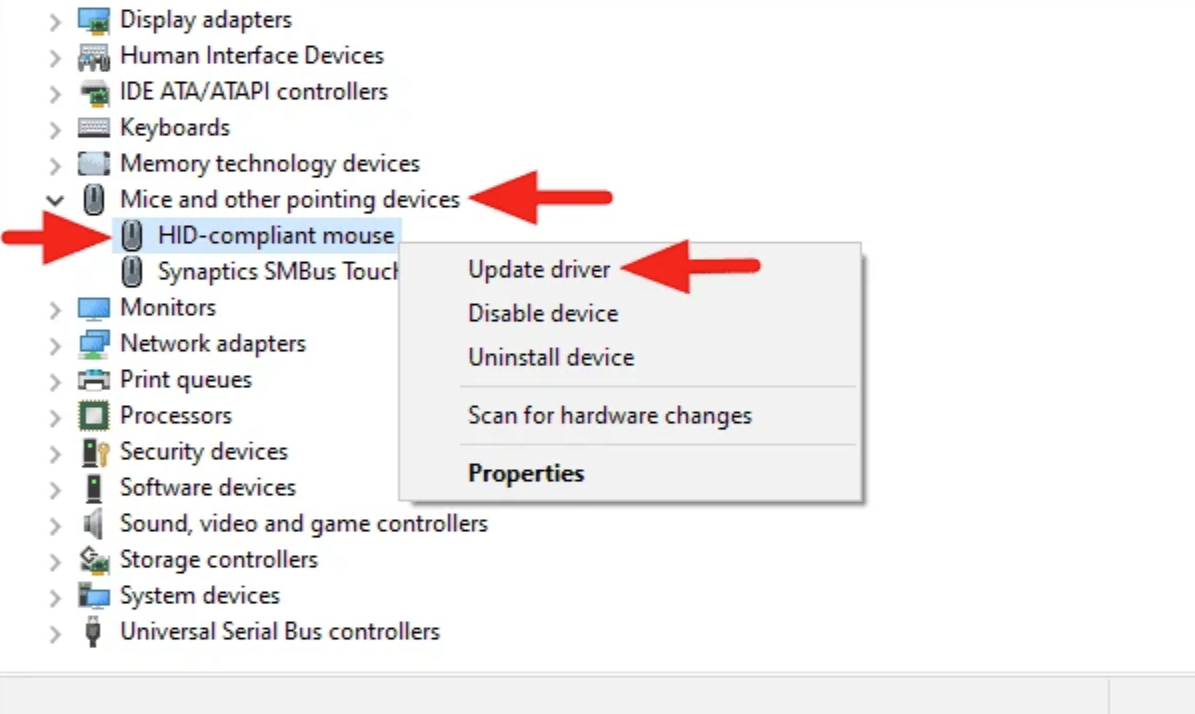
- Right-click on the malfunctioning keyboard and select “Update driver” from the context menu.
- Next, click on the “Search automatically for drivers” from the two options that appear here in the Update drivers window.
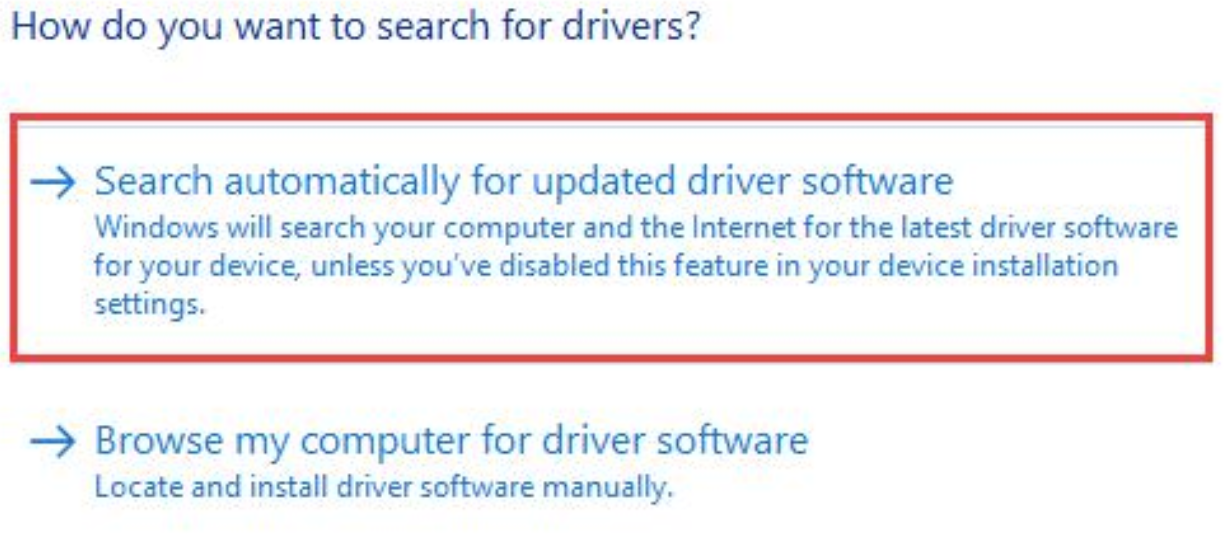
- Windows will now scan for the best available driver on the system and install it.
- Similarly double-click on “Mice and other pointing devices”, locate the malfunctioning mouse, and update its driver as well.
3. Reinstall mouse and keyboard drivers in Windows 11
- Right-click on the “Start” button in the Taskbar to launch the Quick Access/Power User menu.
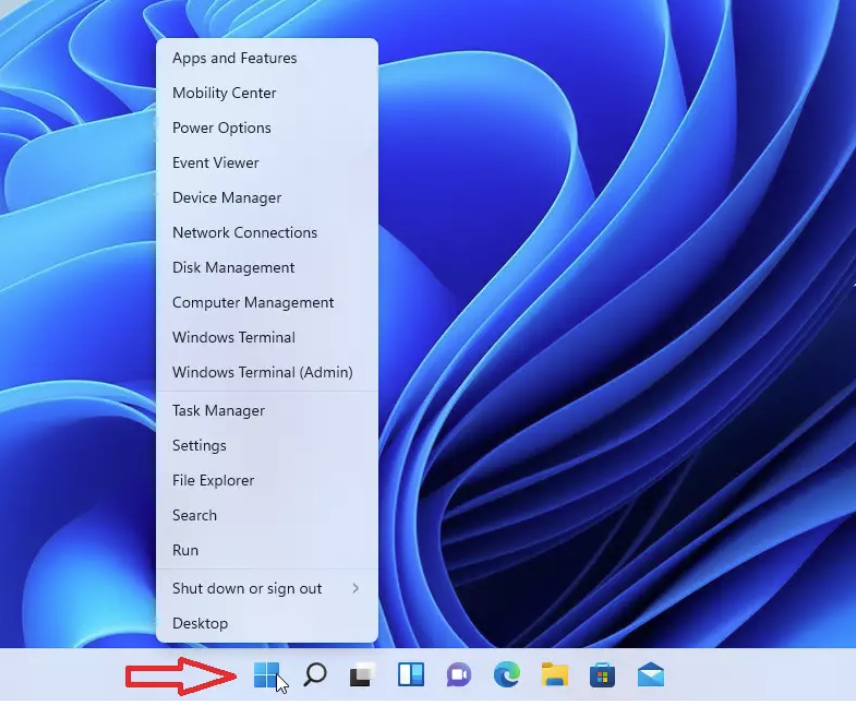
- Select “Device Manager” from the list of options that appear.
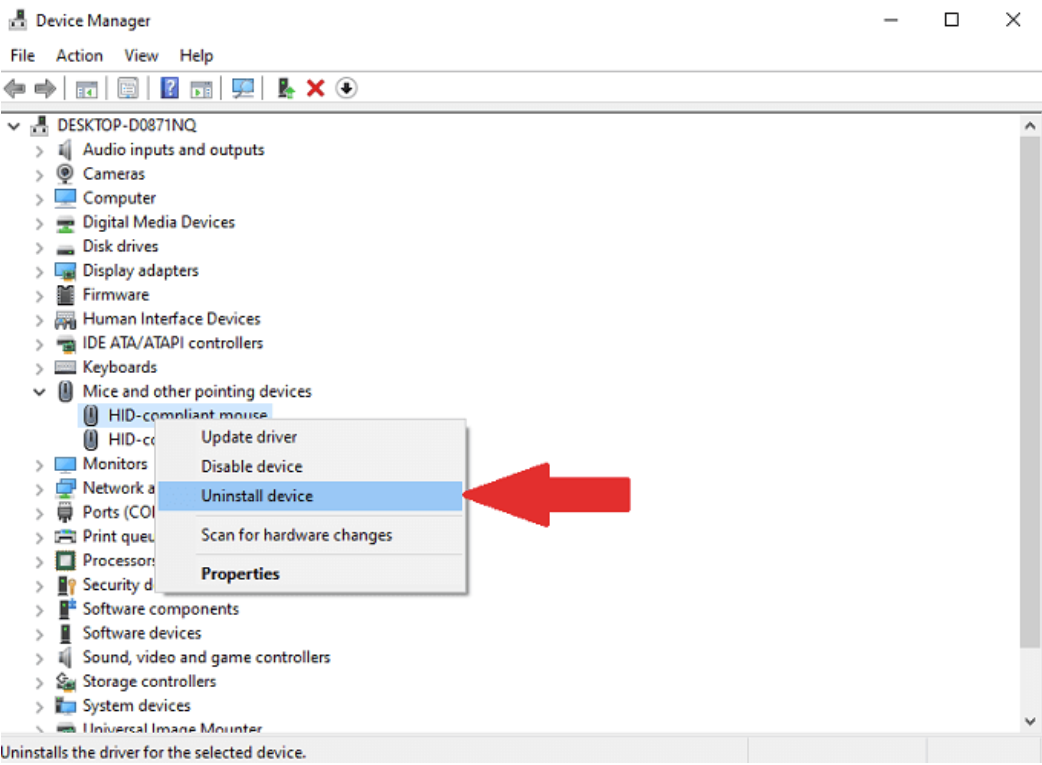
- Locate and double-click on “Mice and other pointing devices” to view the devices under it.

- Right-click on the mouse that’s not working and click on “Uninstall device” from the context menu.
- Next, tick the checkbox for “Delete the driver software for this device”, and click on “Uninstall” at the bottom.

- Similarly double-click on “Keyboards” to view the devices under it, and "uninstall" the malfunctioning keyboard.
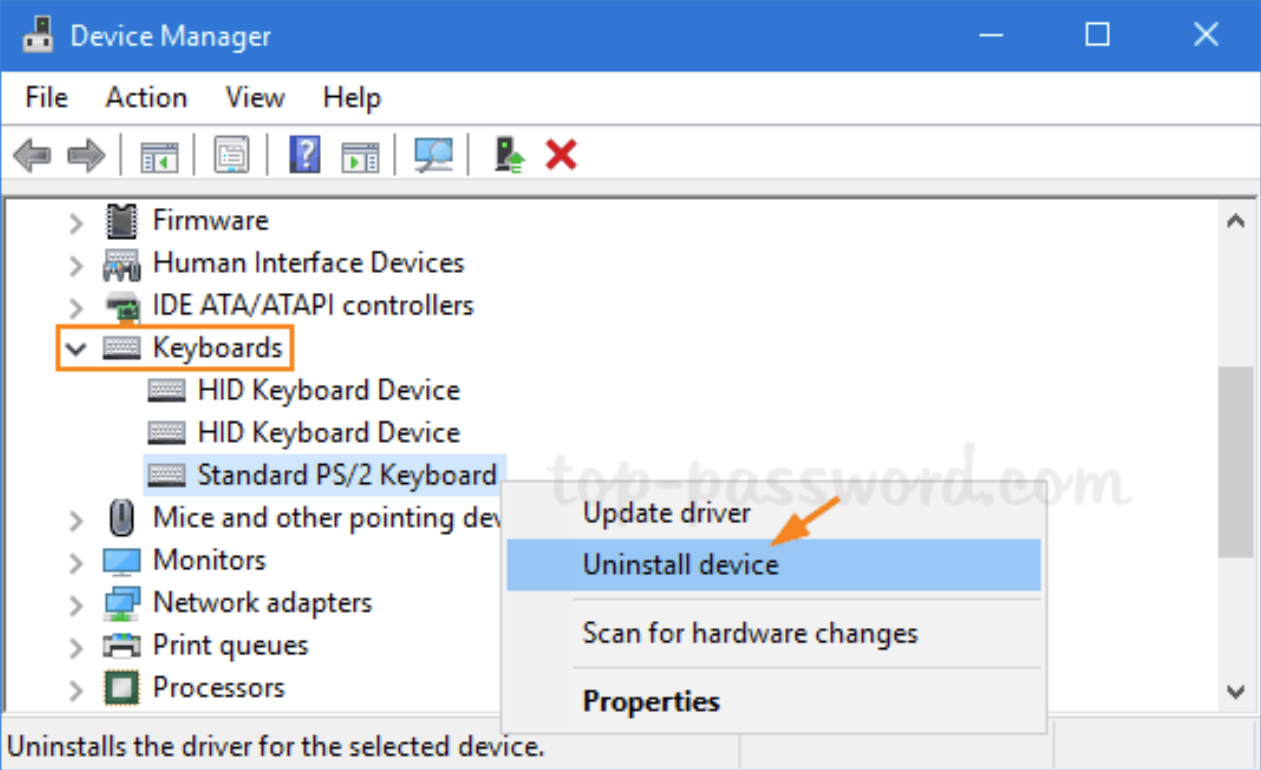
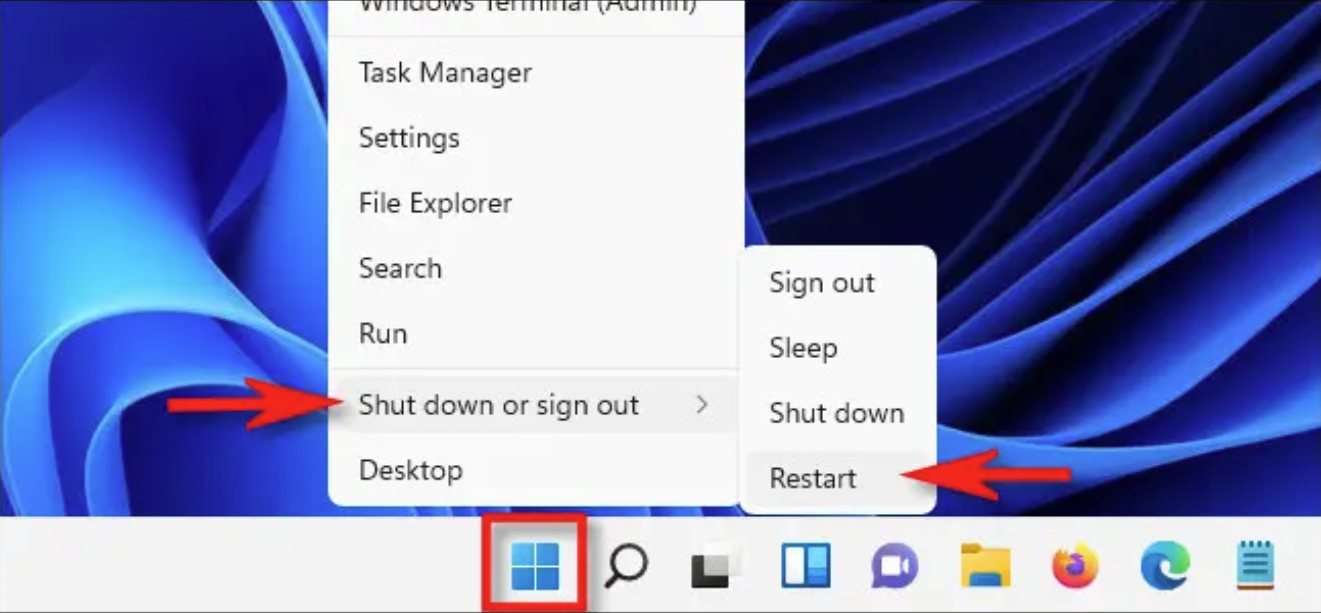
- After you have uninstalled the drivers for both the mouse and keyboard, Right-Click the “Start Menu” and restart the computer.
4. Disable fast startup
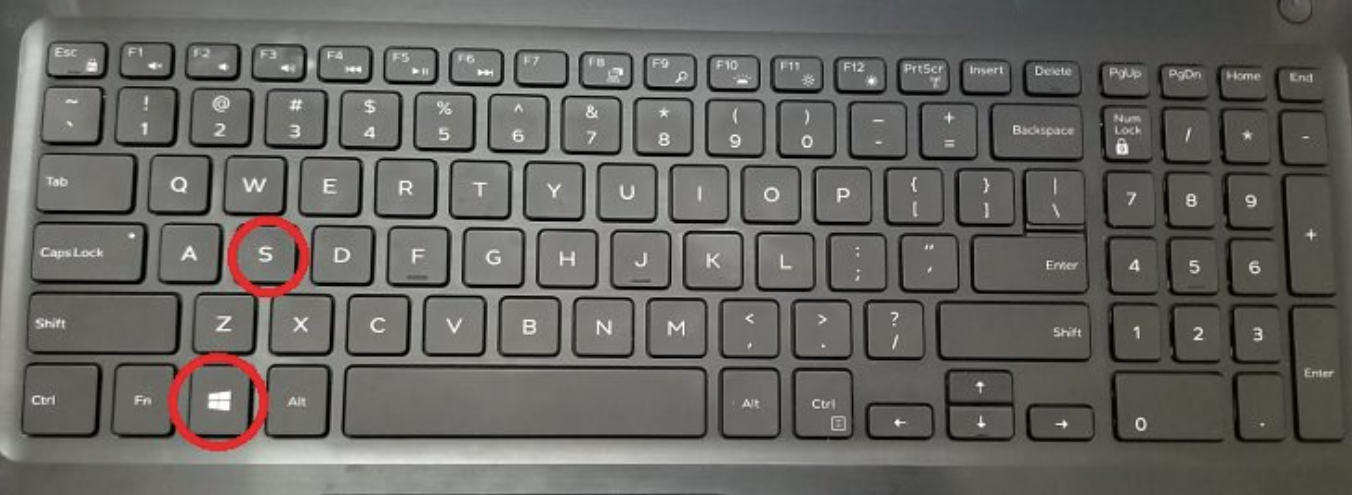
- Press “Windows + S” to launch the Search menu.
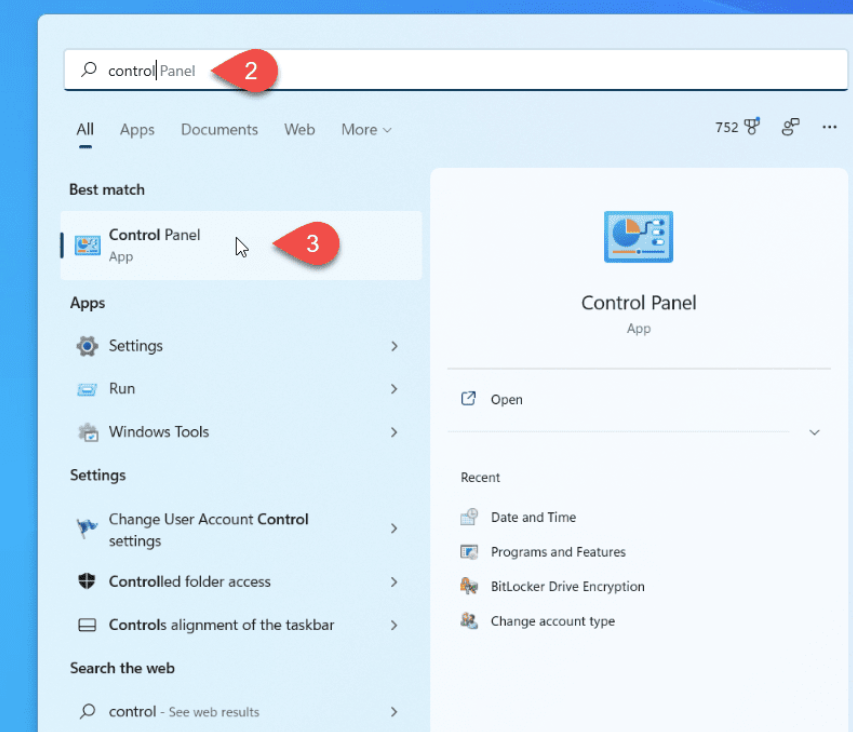
- Enter “Control Panel” in the text field at the top and click on the relevant search result that appears.
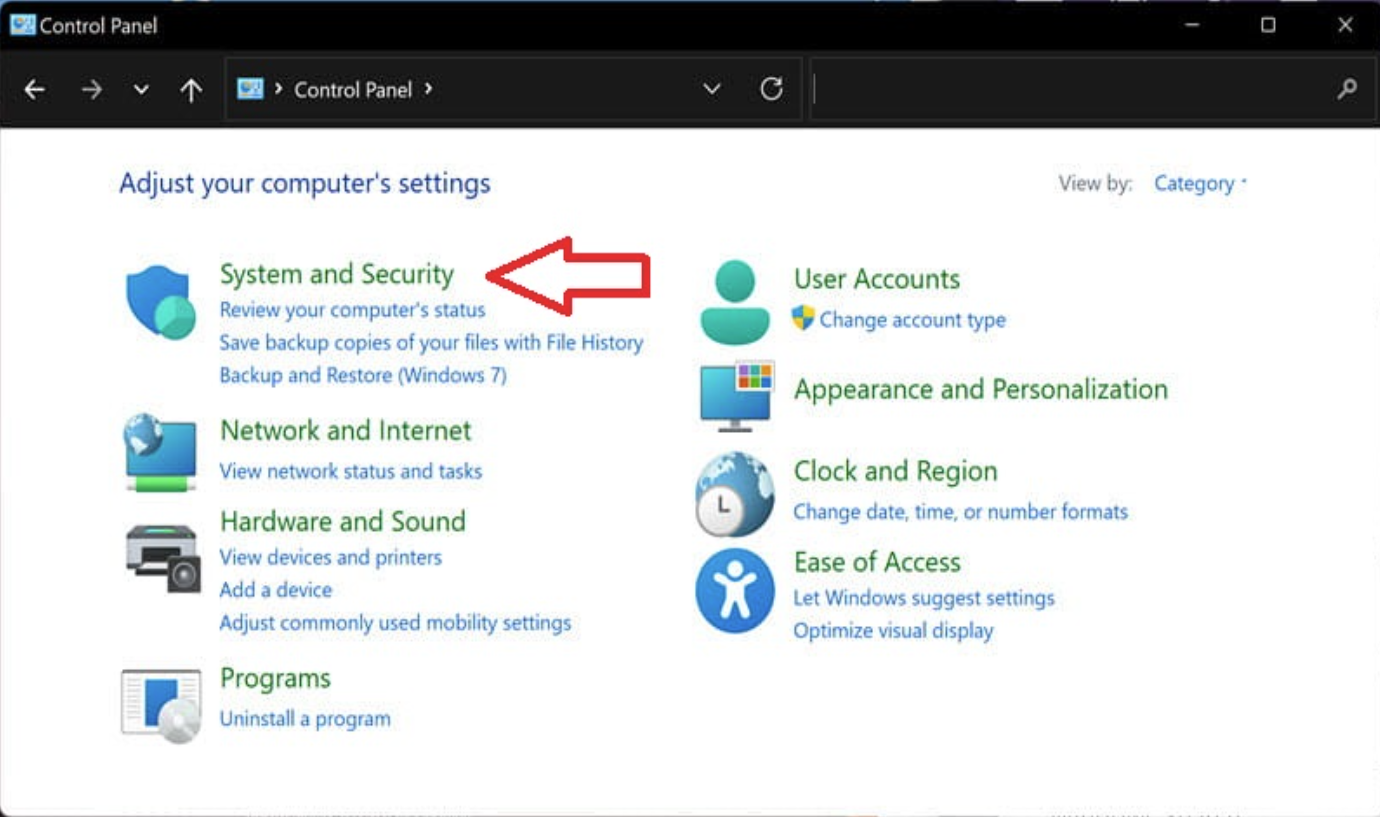
- Click on “System and Security” from the list of options.
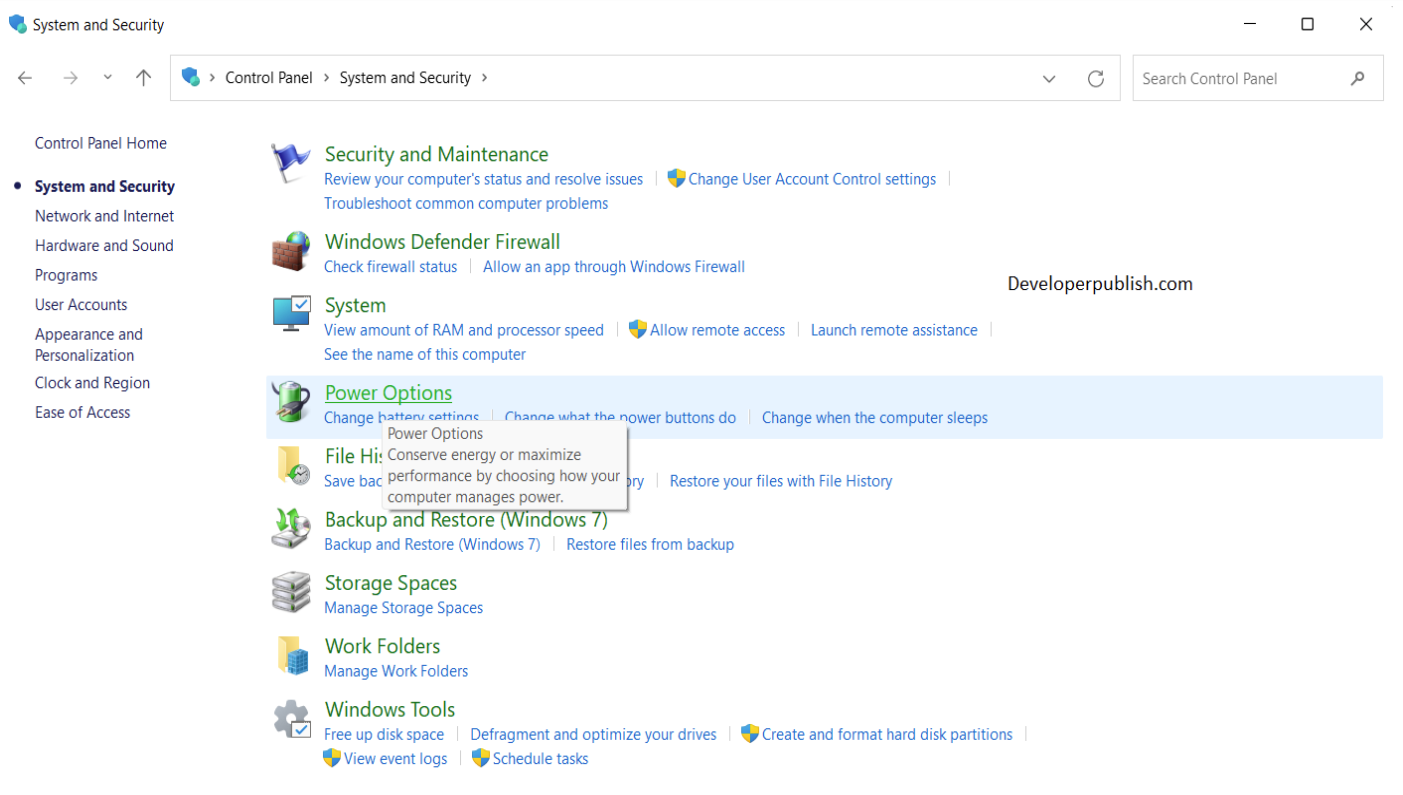
- Click on “Power options”.
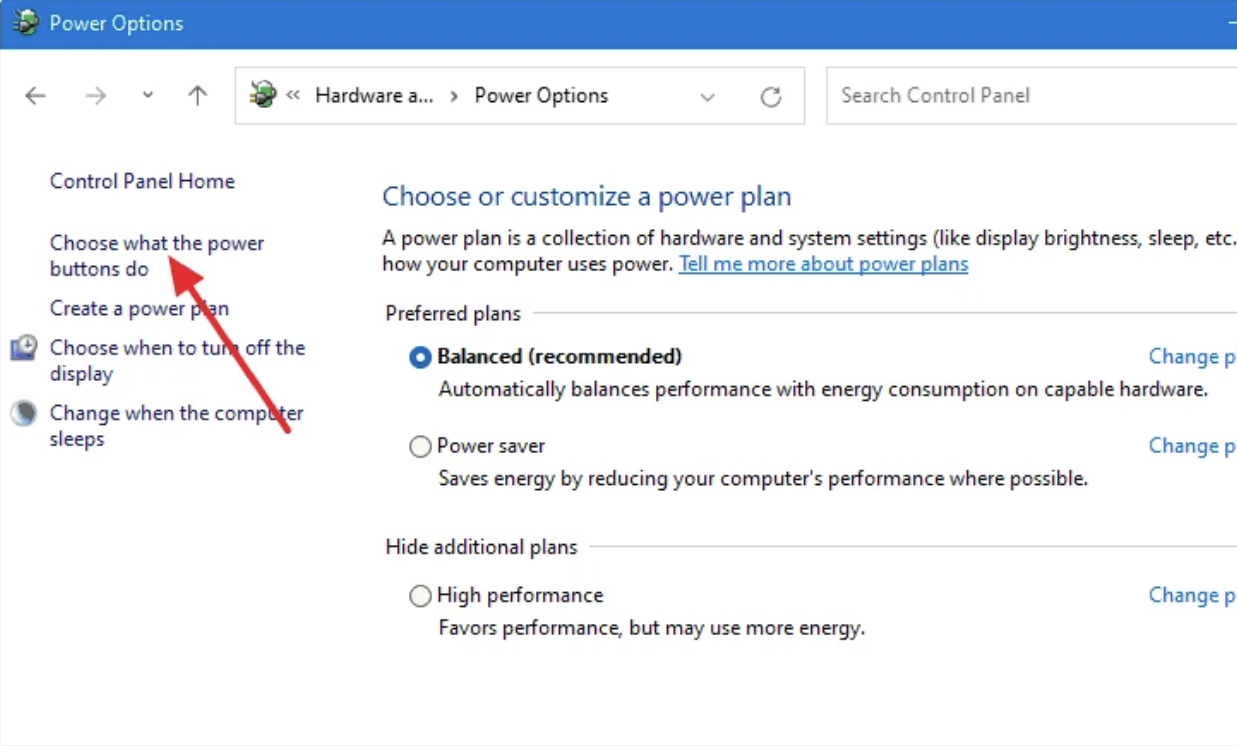
- Next, click on “Choose what the power buttons do” from the options listed on the left.
- Click on “Change the settings that are currently unavailable to proceed”.
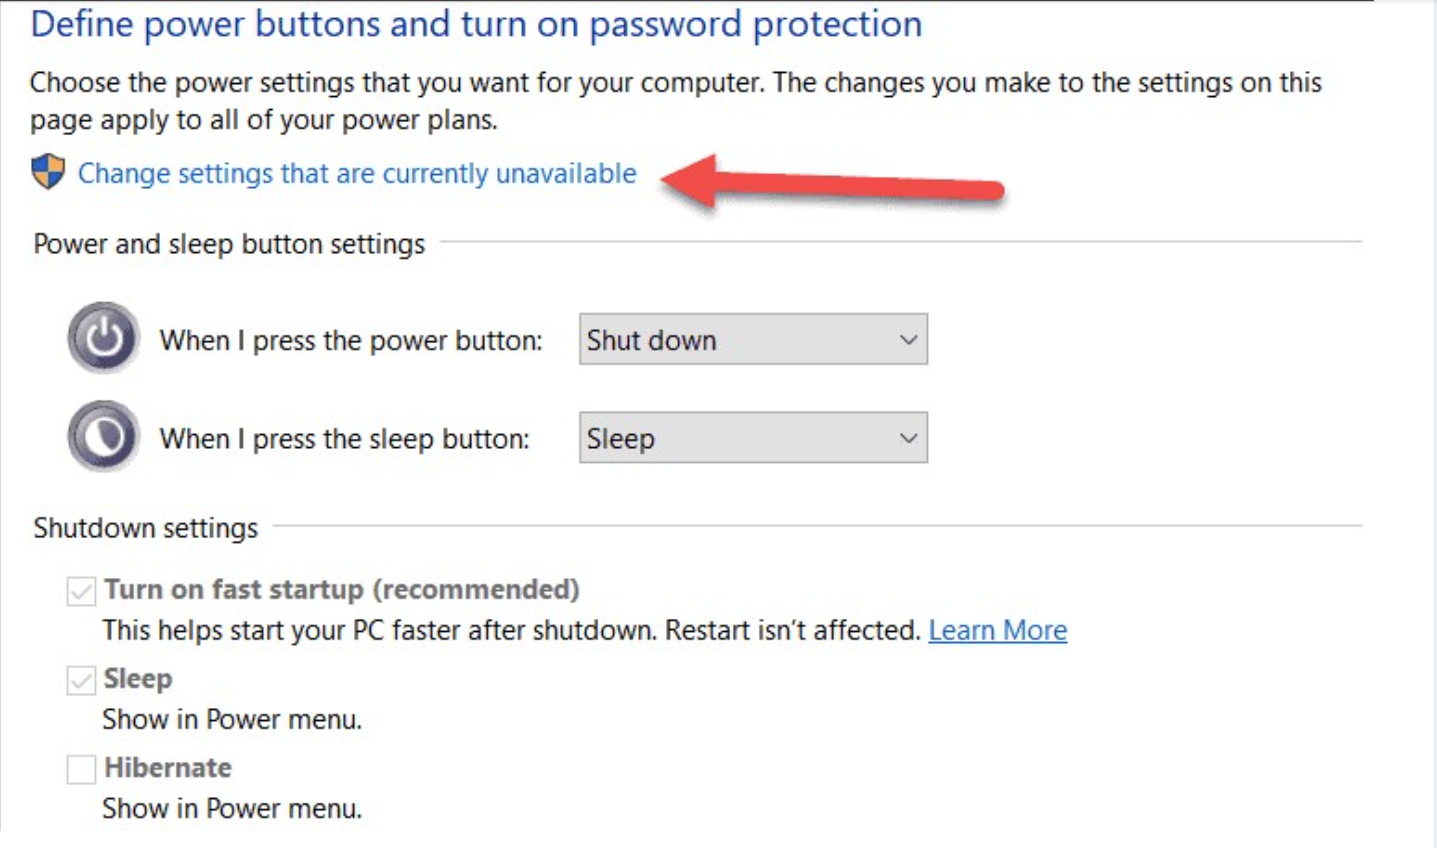
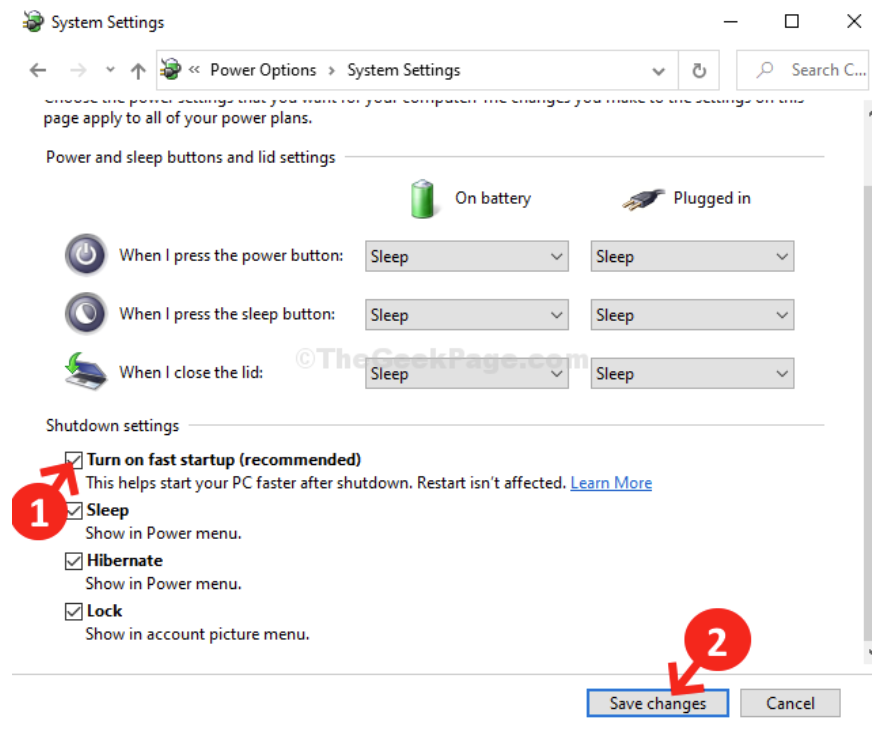
- Now, untick the checkbox for “Turn on fast startup (recommended)”, and click on "Save changes" at the bottom.
×
![]()
Comments
0 comments
Article is closed for comments.